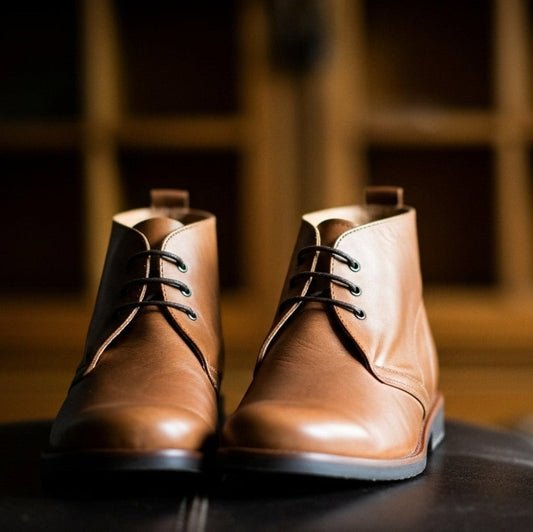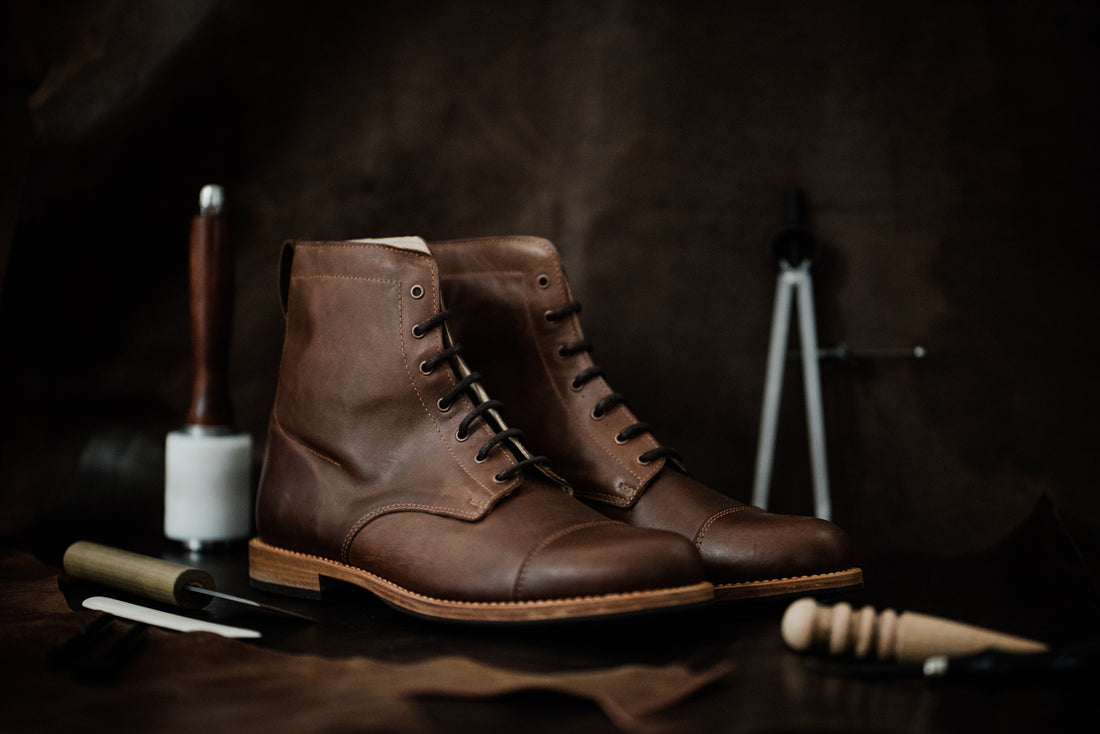
The Importance of Leather Boot Care
Share
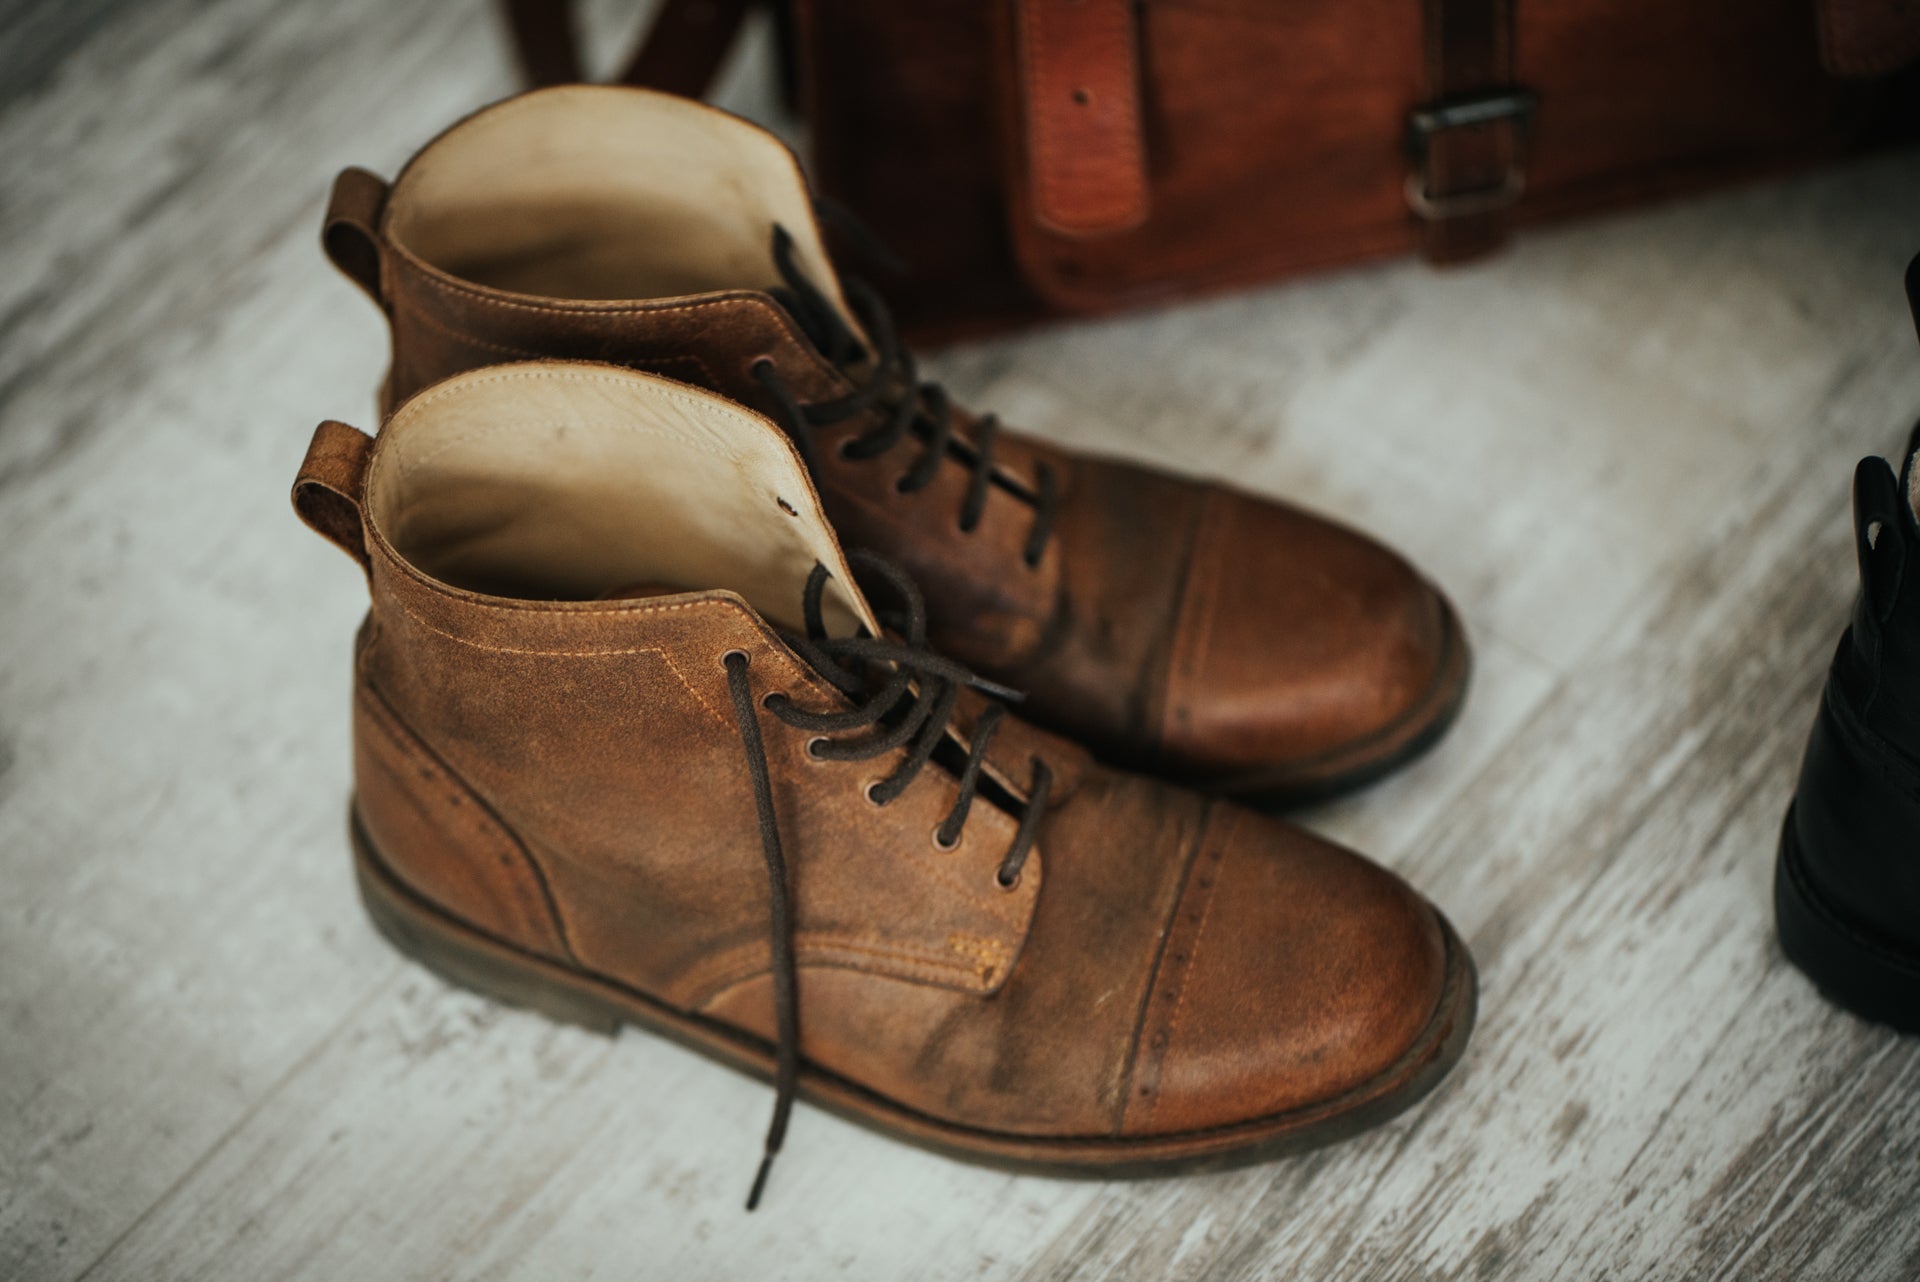
Leather is a natural material that can last for many years if properly cared for. However, because leather is porous, it’s prone to drying out, cracking, and absorbing moisture if not treated regularly. Proper leather boot care prevents damage, enhances the natural beauty of the material, and maintains the comfort of the boots as they mold to the wearer’s feet over time. Understanding the right methods for leather care can significantly extend the life of your boots.
1. Cleaning Leather Boots
Why Cleaning is Important
Leather boots are exposed to dirt, dust, mud, and other contaminants that can weaken the material over time. Regular cleaning is the first and most important step in maintaining the health and appearance of your boots. It removes debris that can scratch or stain the leather and prepares the surface for conditioning.
Materials Needed for Cleaning
- Soft, dry cloth or a horsehair brush
- Saddle soap or a mild leather cleaner
- Damp cloth (preferably microfiber)
- Warm water
Step-by-Step Cleaning Process
-
Remove the Laces: Before you start cleaning, remove the laces from your leather boots to ensure you can reach all areas.
-
Wipe Off Loose Dirt: Use a dry cloth or a horsehair brush to remove loose dirt and debris. Be gentle, as excessive force can scratch the leather.
-
Prepare the Cleaning Solution: Mix warm water with a small amount of saddle soap or leather cleaner. Never use harsh detergents, as they can strip the leather’s natural oils.
-
Clean the Boots: Dip a clean cloth into the soapy water, wring out the excess, and gently rub the boots in circular motions. Focus on areas that are particularly dirty or stained. Avoid soaking the leather with too much water.
-
Rinse and Dry: After cleaning, wipe the boots down with a damp cloth to remove any soap residue. Let them air dry at room temperature, avoiding direct sunlight or heat sources like radiators, which can cause the leather to crack.
2. Conditioning Leather Boots
Why Conditioning is Essential
Leather needs moisture to remain supple and soft. Over time, natural oils in the leather evaporate, causing it to dry out and become prone to cracking. Conditioning your boots replenishes these oils, keeping the leather flexible and resilient. It also adds a layer of protection against future wear and tear.
Materials Needed for Conditioning
- Leather conditioner (such as mink oil, neatsfoot oil, or a beeswax-based product)
- Soft, dry cloth
- Applicator sponge (optional)
Step-by-Step Conditioning Process
-
Ensure Boots Are Clean: Always condition your boots after cleaning them, as dirt can interfere with the absorption of the conditioner.
-
Apply the Conditioner: Using a clean, dry cloth or an applicator sponge, apply a small amount of conditioner to the boots in circular motions. Start with a thin layer and focus on areas that show signs of wear or dryness. Avoid over-applying the conditioner, as this can lead to a sticky or greasy finish.
-
Let the Conditioner Absorb: After applying the conditioner, allow the boots to sit for several hours (or overnight, if possible). This gives the leather time to absorb the oils fully.
-
Buff the Boots: Once the conditioner has been absorbed, use a clean cloth to buff the boots to a soft shine. This helps even out the application and restores the leather’s natural luster.
How Often to Condition
How often you condition your boots depends on how frequently you wear them and the environment they’re exposed to. In general, conditioning every 3–6 months is recommended, but boots worn in harsh conditions (rain, snow, or excessive sun) may need more frequent treatment.
3. Waterproofing Leather Boots
Why Waterproofing is Important
Leather boots are not naturally waterproof, but exposure to water and moisture can weaken the material and cause it to stretch, warp, or crack. Applying a waterproofing treatment creates a protective barrier that helps repel water, extending the life of your boots.
Materials Needed for Waterproofing
- Waterproofing spray or wax
- Soft, dry cloth
- Leather protector (optional)
Step-by-Step Waterproofing Process
-
Choose the Right Product: Waterproofing sprays and waxes are the most common methods for protecting leather. Sprays are easy to apply and provide good coverage, while waxes offer a heavier, more durable layer of protection. Be sure to choose a product that’s designed specifically for leather.
-
Clean and Condition First: Always clean and condition your boots before applying a waterproofing treatment. This ensures that the leather is free of dirt and has the necessary moisture.
-
Apply the Waterproofing: Hold the waterproofing spray about 6 inches away from the boots and apply an even layer across the surface. If using wax, apply a small amount to a cloth and rub it into the leather in circular motions.
-
Allow Time to Dry: After applying the waterproofing treatment, let the boots dry completely. This can take several hours, depending on the product used.
-
Repeat as Necessary: Depending on how often you wear your boots in wet conditions, you may need to reapply waterproofing every few months. Always follow the product’s instructions for best results.
4. Polishing Leather Boots
Why Polishing is Necessary
Polishing adds a layer of shine to your leather boots, giving them a sleek, well-maintained appearance. While not all leather boots require regular polishing, it’s a good practice for dressier styles that are worn in formal or business settings.
Materials Needed for Polishing
- Shoe polish (in a color that matches your boots)
- Polishing brush or soft cloth
- Applicator brush (optional)
- Buffing brush
Step-by-Step Polishing Process
-
Choose the Right Polish: Use a high-quality shoe polish that matches the color of your leather boots. If you’re unsure, neutral polish is a safe option.
-
Apply the Polish: Using a cloth or an applicator brush, apply a small amount of polish to the boots in circular motions. Focus on any scuffs or areas where the leather looks dull.
-
Let the Polish Dry: Allow the polish to dry for a few minutes before moving to the next step.
-
Buff the Boots: Using a buffing brush or a soft cloth, buff the boots to a high shine. This will remove excess polish and enhance the appearance of the leather.
Polishing Frequency
Polishing isn’t necessary for all types of leather boots, especially those meant for casual or outdoor use. However, if you want your boots to maintain a sleek, shiny finish, polish them after every few wears or as needed.
5. Storing Leather Boots
Why Proper Storage is Crucial
Storing leather boots correctly helps prevent creasing, stretching, and cracking. Improper storage, such as leaving boots in a damp or overly dry environment, can lead to permanent damage over time.
Materials Needed for Proper Storage
- Boot trees (preferably cedar)
- Dust bags or shoe boxes
- Climate-controlled storage area
Step-by-Step Storage Process
-
Use Boot Trees: Insert cedar boot trees into your boots when not in use. Boot trees help maintain the shape of the leather and absorb moisture, preventing unpleasant odors and mildew.
-
Store in Dust Bags or Boxes: If possible, store your boots in dust bags or their original boxes to protect them from dust, sunlight, and humidity. Avoid storing them in plastic bags, as leather needs to breathe.
-
Choose the Right Environment: Store your boots in a cool, dry place away from direct sunlight or heat sources. Excessive heat can cause the leather to dry out and crack, while humidity can promote mold growth.
6. Handling Special Leather Types
Not all leather is created equal, and different types of leather require slightly different care. Here’s a quick guide to handling special leather types:
Suede Leather
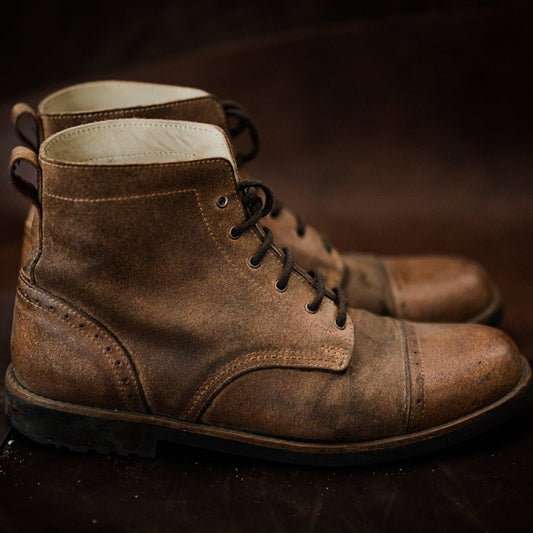
Suede is more delicate than full-grain leather and requires different care. Use a suede brush to remove dirt and stains, and apply a waterproofing spray specifically designed for suede.
Patent Leather
Patent leather has a shiny, glossy finish that can scuff easily. Use a soft cloth and a patent leather cleaner to maintain its appearance, and avoid abrasive brushes.
Oiled or Waxed Leather
Oiled or waxed leather boots are designed to be more water-resistant, but they still need occasional conditioning. Use a leather conditioner that’s compatible with oiled finishes to keep the leather supple without removing the natural oils.
Conclusion
Leather boots are an investment in both style and durability, and with proper care, they can last for many years. By regularly cleaning, conditioning, waterproofing, and polishing your boots—and storing them correctly—you’ll ensure that they stay in top condition. Following the care steps outlined in this guide will not only maintain the beauty of your leather boots but also protect the comfort and functionality they provide. With the right attention, your leather boots will continue to be a reliable and stylish part of your wardrobe for years to come.

